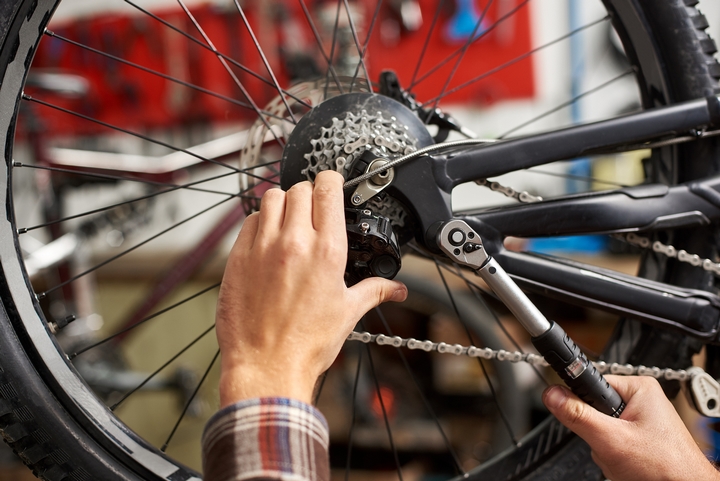
Whether you’ve been riding bikes for a while, or are new to the world of cycling, it is important that you take the time to learn how to take care of your machine.
Bike mechanics can be an intimidating field to wade into, but once you get the hang of it — you’ll enjoy the confidence boost of possessing a whole new level of competency. Bike repairs will vary depending on the type of bicycle you have and their corresponding brakes systems.
If your bicycle is braking apart, here is a tutorial on how to fix bicycle brakes and get them working like brand new again:
Step #1: Learn the rule of brake adjustment.

First things first, learn the golden rule of brake adjustment that will apply regardless of what kind of brake system you’re working with. In all cases, you need to check that the wheels are sitting correctly in the dropouts. Don’t skip this step, because it is one of the most crucial steps on how to fix bicycle brakes.
To do this, simply loosen the quick release on your wheels and wiggle the wheel from side to side until you’re confident that the wheel is sitting straight. Then, firmly retighten the quick release.
Step #2: Centre your caliper brakes.

Since caliper brakes are the most common, we’ll start with a breakdown of how to fix these bicycle brakes. To start, you’ll need to centre the brake. In order to do so, you need to confirm that the brake pads are sitting an equal distance from the rim.
If you don’t trust yourself to do this by looking at them, you can squeeze the brake and watch to see if the brake pads contact at the same time. If one pad pushes the rim across onto the other pad, they need to be centered. In order to straighten the brake, just loosen the bolt at the back, realign the brake and firmly retighten.
Step #3: Check the distance.

The next step is to check the distance of the pads from the rim. It is important to know that there’s no set rule on what this distance should be, it’s a matter of preference as some people prefer the brakes quite firm while others prefer a little more give.
Holding the brake caliper in one hand, loosen the bolt holding the cable and squeeze (or release) the brake calipers a little. Just keep playing between retightening, the bolt and checking the brakes until you get them to a place you’re comfortable with. Be careful with where you position everything though, since accuracy is important in how to fix bicycle brakes.
Step #4: Align the brake pads and barrel adjuster.

Once you’ve accounted for brake caliper position and cable position, it is time to ensure that brake pads are aligned. You basically want them positioned so they are centered on the braking surface but unable to make contact with the tire and never lower than the braking surface.
Once you’ve got them where you want them, go ahead and spin the wheel to check they are aligned with the braking track all the way around. Finally, you just want to fine tune down the track with the barrel adjuster. To do this, simply turn this barrel clockwise to move the pads out from the rim, and counter-clockwise to move them closer.
Step #5: Make disc brake adjustments.

As disc brakes are a little more complex to adjust than cable or V-brakes, you might need to visit a bike shop. But here are instructions to fix a common problem at home. If your disc brake is rubbing, it is most often caused by an incorrectly aligned brake caliper, or the wheel having been incorrectly repositioned after removal.
Step #6: Get the caliper into the correct position.

If you’ve checked that the wheel is sitting straight in the drop out and the brake is still rubbing, the disc brake itself is likely what’s causing the problem. In this case, you can start by loosening both bolts on the brake caliper. Don’t undo them completely, just enough so you’re able to move the caliper from side to side.
Then, go ahead and retighten the bolts while squeezing the corresponding brake lever firmly. The wheel should now be spinning freely, so if you’re still hearing rubbing, try this process again. It can sometimes take a couple of rounds.
Step #7: Make V Brake adjustments.

For V brake adjustments, you can start out just like the other types by centering the wheel. After, adjust the cable tension by holding both arms of the brake with one hand and releasing the brake cable.
Then, gently release your hand’s pressure on the brake arms until the brake pads are the right distance from the rim for optimum braking performance. At this point, you may need to use your free hand to assist the cable through its clamping point.
Finally, you can go ahead and reattach the brake cable before tightening the bolt. Once you’ve got everything in place, you can confirm whether or not the brake lever it is to your preference by squeezing the lever.


